Start an Amazon Web Services computer:
This page shows you how to create a new “AWS instance”, or a running computer.
0. Introduction
Why would you use cloud computing?:
- Your computer does not have enough resources to run the desired analysis (memory, processors, disk space, network bandwidth).
- You want to produce results faster than your computer can.
- You cannot install software in your computer (application does not have support for your operating system, conflicts with other existing applications)
- You need dynamic resources – e.g., you only need a high mem machine for a week but not a whole year.
- You don’t want to have to manage the infrastructure of an HPC or have access to an HPC.
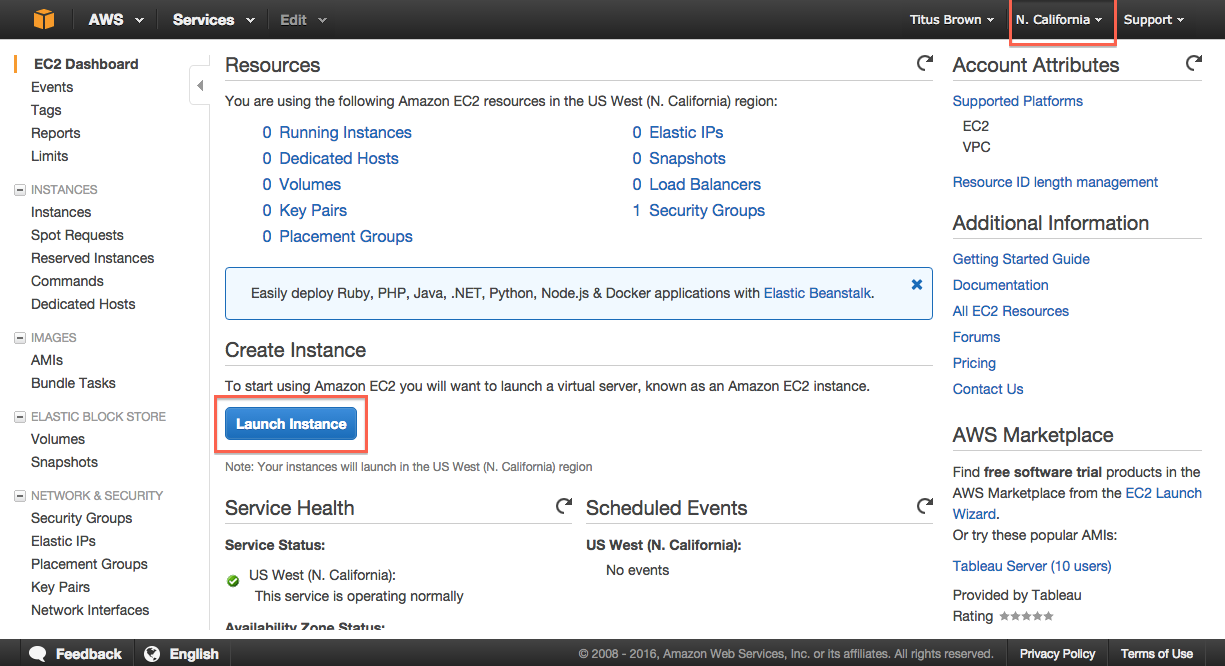
Start at the Amazon Web Services console EC2 launch wizard. You’ll need to sign in to EC2.
1. Switch to zone US East (N Virginia) if not already there
2. Click on “Launch instance.”
3. Select “Community AMIs.”
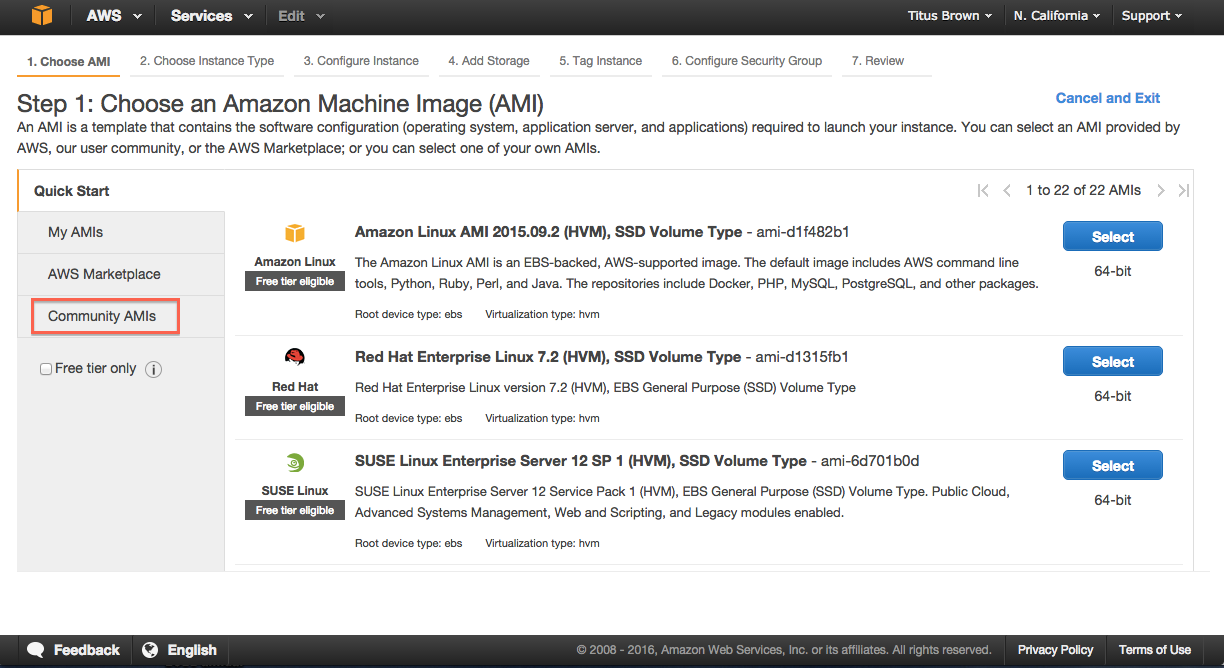
4. Search for ami-002f0f6a (ubuntu-wily-15.10-amd64-server)
Use ami-002f0f6a.
5. Click on “Select.”
6. Choose m4.large.

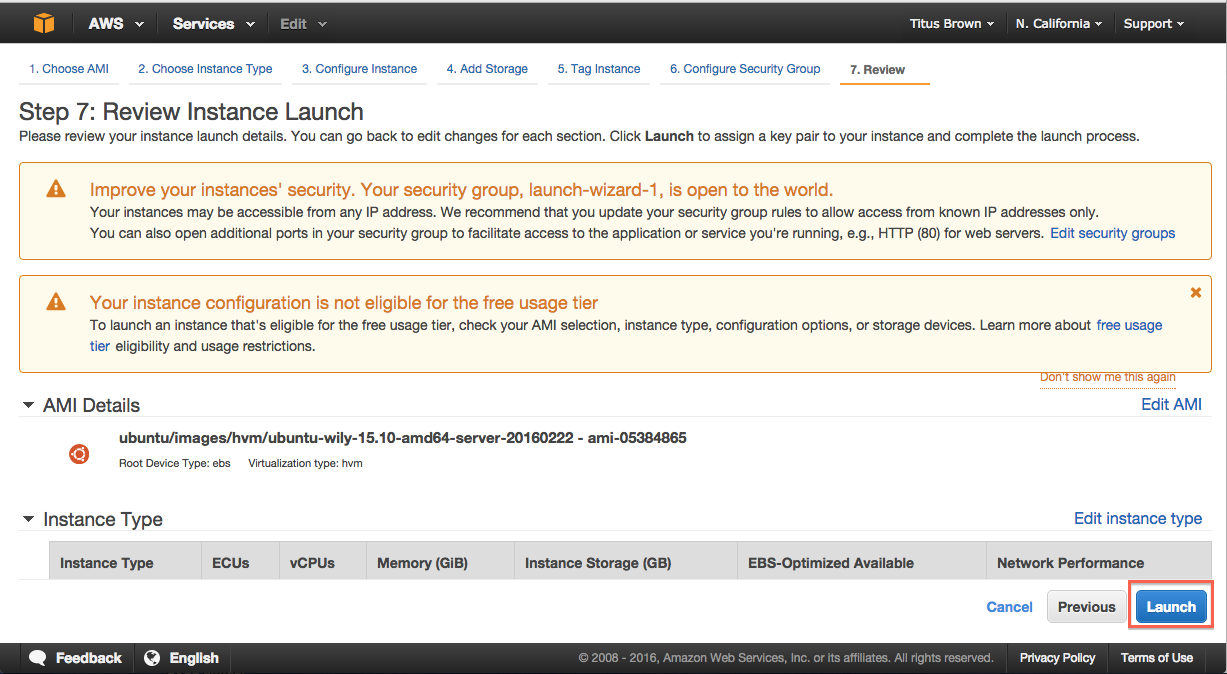
7. Click “Review and Launch.”
8. Click “Launch.”
9. Select “Create a new key pair.”
Note: you only need to do this the first time you create an instance. If you know where your amazon-key.pem file is, you can select ‘Use an existing key pair’ here. But you can always create a new key pair if you want, too.
If you have an existing key pair, go to step 12, “Launch instance.”

10. Enter name ‘amazon-key’.
11. Click “Download key pair.”
12. Click “Launch instance.”
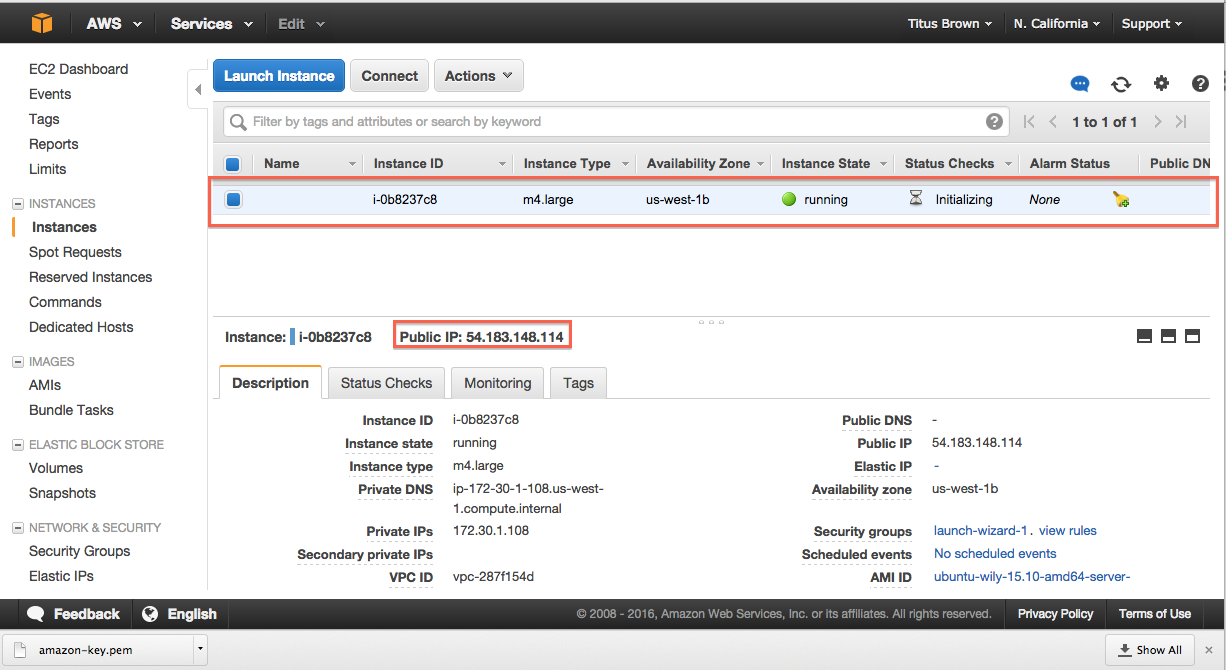
13. Select View instances (lower right)
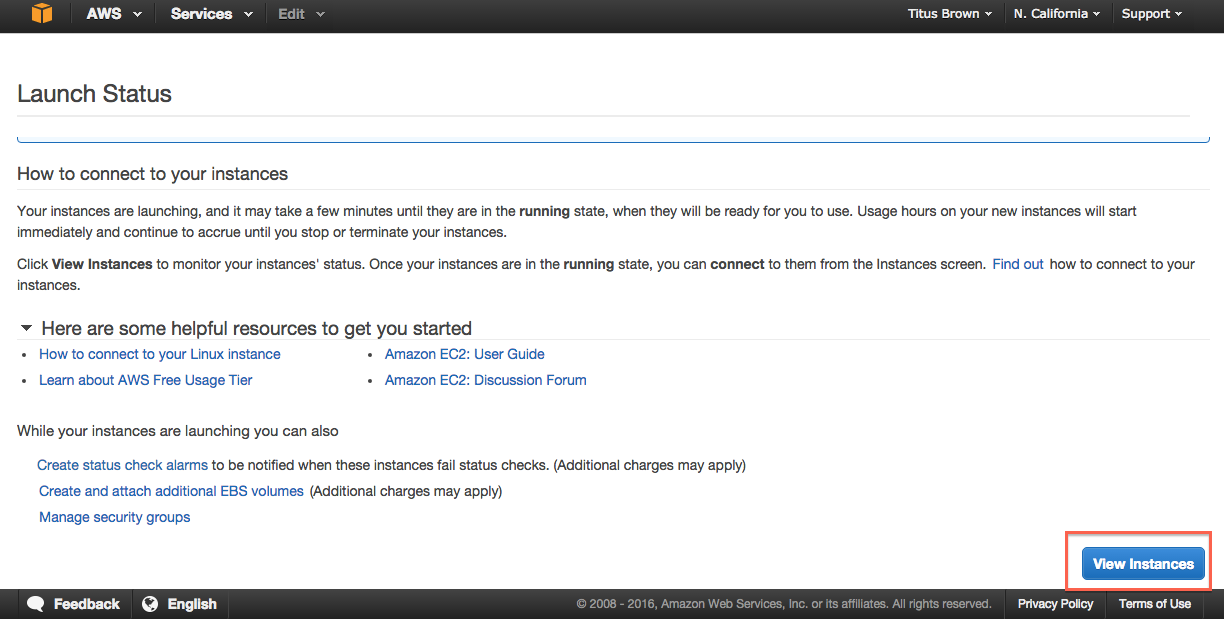
14. Bask in the glory of your running instance
Note that for your instance name you can use either “Public IP” or “Public DNS”. Here, the machine only has a public IP.
You can now Log into your instance with the UNIX shell or Configure your instance firewall.